Creating a Bootable USB Drive for Ubuntu: A Comprehensive Guide
Related Articles: Creating a Bootable USB Drive for Ubuntu: A Comprehensive Guide
Introduction
With great pleasure, we will explore the intriguing topic related to Creating a Bootable USB Drive for Ubuntu: A Comprehensive Guide. Let’s weave interesting information and offer fresh perspectives to the readers.
Table of Content
Creating a Bootable USB Drive for Ubuntu: A Comprehensive Guide
Ubuntu, a popular and user-friendly Linux distribution, offers a compelling alternative to traditional operating systems. Its open-source nature, robust security features, and vast community support make it an attractive choice for users of all levels. To experience the benefits of Ubuntu, one may choose to install it on their computer. Creating a bootable USB drive is the most common and convenient method for initiating this process.
This guide provides a comprehensive overview of creating a bootable Ubuntu USB drive, addressing the intricacies of the process and highlighting its significance in facilitating a seamless installation experience.
Understanding the Importance of a Bootable USB Drive
A bootable USB drive serves as a portable platform for launching the Ubuntu operating system. It enables users to:
- Install Ubuntu: The primary function of a bootable USB drive is to facilitate the installation of Ubuntu onto a computer’s hard drive. This process involves transferring the Ubuntu operating system files from the USB drive to the designated storage location.
- Test Ubuntu: Before committing to a full installation, users can employ a bootable USB drive to boot their computer into a live Ubuntu environment. This allows them to explore the operating system, test its compatibility with their hardware, and familiarize themselves with its interface without altering their existing operating system.
- Repair or Recover a System: In scenarios where a computer’s operating system encounters issues, a bootable USB drive can be used to access recovery tools or reinstall Ubuntu, restoring the system to a functional state.
- Create a Multiboot System: Advanced users can configure a bootable USB drive to contain multiple operating systems, enabling them to choose their preferred system at boot time, offering a flexible and versatile computing environment.
Creating a Bootable USB Drive: A Step-by-Step Guide
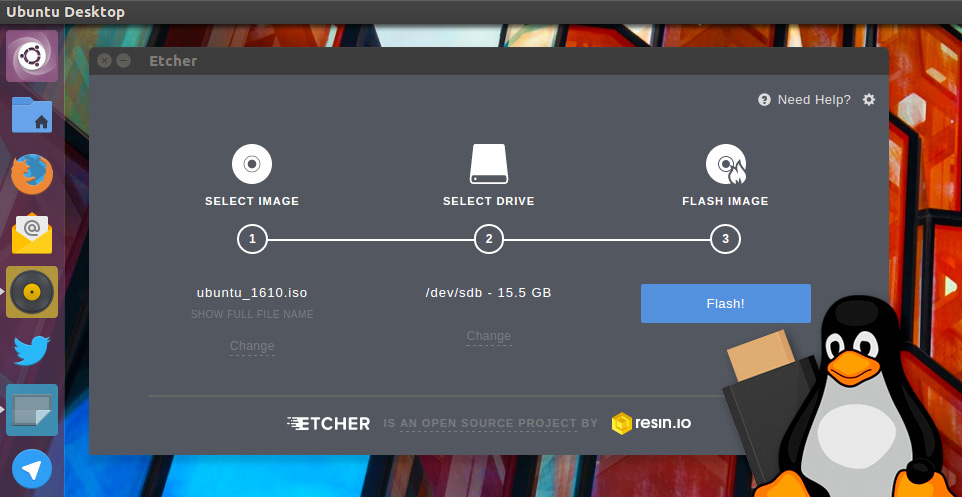
The process of creating a bootable USB drive for Ubuntu can be accomplished using various methods, including dedicated tools like UNetbootin or Rufus, or directly through the Ubuntu website. This guide outlines the steps involved in using the official Ubuntu ISO image and the dd command, a versatile tool for copying data, including disk images.
Prerequisites:
- Ubuntu ISO Image: Download the latest Ubuntu ISO image from the official Ubuntu website. Choose the appropriate version based on your system’s specifications and intended use.
- USB Drive: Select a USB drive with sufficient storage capacity. It is recommended to use a drive dedicated solely for this purpose, as the process will erase all existing data on the drive.
- Linux or macOS System: This guide assumes you are using a Linux or macOS system. Windows users can employ third-party tools like Rufus or UNetbootin to achieve the same outcome.
Steps:
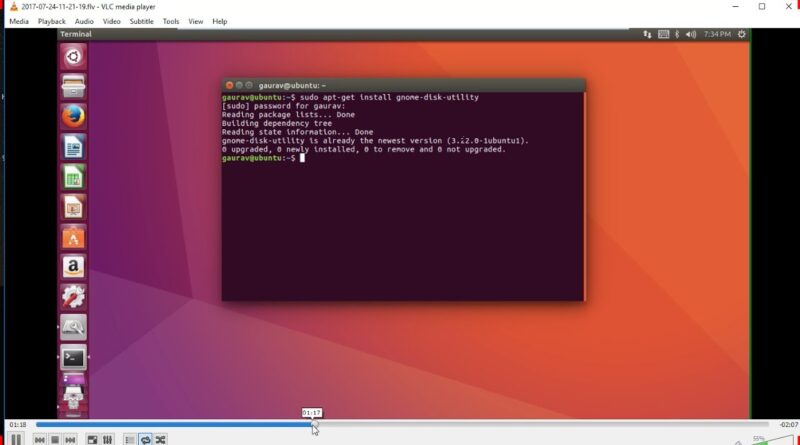
- Open a Terminal: On your Linux or macOS system, open a terminal window.
- Identify the USB Drive: Connect the USB drive to your computer. Use the lsblk command to list all connected storage devices and identify the USB drive’s device name (e.g., /dev/sdb). Caution: Double-check the device name to avoid overwriting the wrong drive.
- Unmount the USB Drive: Before proceeding, unmount the USB drive using the umount command. For example, umount /dev/sdb1.
-
Execute the dd Command: Utilize the dd command to copy the Ubuntu ISO image onto the USB drive. The following command demonstrates this process, replacing
/path/to/ubuntu.isowith the actual path to the downloaded ISO file and/dev/sdbwith the identified USB drive name.sudo dd if=/path/to/ubuntu.iso of=/dev/sdb bs=4M status=progressThis command instructs the system to read the ISO image (
if) and write it to the USB drive (of) using a block size of 4MB (bs). Thestatus=progressoption provides a progress bar during the copying process. - Verify the Bootable USB Drive: Once the process completes, verify that the USB drive is bootable by restarting your computer and accessing the boot menu. The boot menu typically appears during the initial startup sequence, often by pressing a key like F12, F11, or Esc. Select the USB drive as the boot device.
Additional Tips:
- Use a Dedicated USB Drive: Avoid using a USB drive that contains important data, as the process will erase all contents.
- Verify Device Name: Double-check the USB drive’s device name before executing the dd command to prevent accidental data loss.
-
Use the
bsOption: Adjusting the block size (bs) in the dd command can influence the speed of the process. Experiment with different values to find the optimal setting for your system. - Consider Using a GUI Tool: If you prefer a graphical interface, tools like UNetbootin or Rufus offer user-friendly alternatives for creating a bootable USB drive.
FAQs:
Q: What if the USB drive is not recognized as bootable?
A: Ensure that the USB drive is properly formatted as a bootable drive using the appropriate file system, such as FAT32 or NTFS, depending on your system’s requirements. Additionally, check the BIOS settings to confirm that the USB drive is enabled as a boot device.
Q: Can I create a bootable USB drive on Windows?
A: While the dd command is primarily available on Linux and macOS systems, Windows users can utilize tools like Rufus or UNetbootin to create bootable USB drives. These tools provide a user-friendly interface for selecting the ISO image and configuring the USB drive.
Q: Can I create a bootable USB drive for multiple operating systems?
A: Yes, you can create a multiboot USB drive that allows you to boot into different operating systems. Tools like YUMI or MultiBootUSB enable you to add multiple ISO images to a single USB drive, creating a versatile boot environment.
Q: How do I boot from the USB drive?
A: During the computer’s initial startup sequence, access the boot menu by pressing a key like F12, F11, or Esc. Select the USB drive as the boot device.
Q: Can I use a bootable USB drive to upgrade Ubuntu?
A: While creating a bootable USB drive is not the primary method for upgrading Ubuntu, it can be used to perform a clean install, effectively upgrading to a newer version.
Conclusion:
Creating a bootable USB drive for Ubuntu empowers users to install, test, repair, or recover their systems with ease. The process, while requiring a few essential steps, is straightforward and can be accomplished using various methods, including the dd command, GUI tools, or dedicated applications. By understanding the steps involved and adhering to the necessary precautions, users can confidently create a bootable USB drive that unlocks the potential of Ubuntu on their computers.


Closure
Thus, we hope this article has provided valuable insights into Creating a Bootable USB Drive for Ubuntu: A Comprehensive Guide. We thank you for taking the time to read this article. See you in our next article!