The Essential Guide to Creating Professional Passport-Sized Photographs
Related Articles: The Essential Guide to Creating Professional Passport-Sized Photographs
Introduction
With enthusiasm, let’s navigate through the intriguing topic related to The Essential Guide to Creating Professional Passport-Sized Photographs. Let’s weave interesting information and offer fresh perspectives to the readers.
Table of Content
The Essential Guide to Creating Professional Passport-Sized Photographs

Passport-sized photographs, standardized in dimensions and specifications, are a critical component of various official documents, including passports, visas, driver’s licenses, and identity cards. These photographs serve as a visual representation of the individual, ensuring accurate identification and verification.
This comprehensive guide provides detailed information on creating professional passport-sized photographs, addressing the intricacies of requirements, equipment, and techniques.
Understanding the Importance of Passport-Sized Photographs
The significance of adhering to strict guidelines for passport-sized photographs cannot be overstated. These photographs serve as official documentation and are used for:
- Verification of Identity: Passport-sized photographs are essential for verifying an individual’s identity, ensuring that the person presented in the photograph matches the individual applying for the document.
- Security and Fraud Prevention: The standardized format and requirements for passport-sized photographs help prevent fraud and ensure the security of official documents.
- International Recognition: The adherence to international standards for passport-sized photographs facilitates global recognition and acceptance of these documents.
Key Requirements for Passport-Sized Photographs
The specific requirements for passport-sized photographs vary depending on the issuing authority and the type of document. However, common guidelines include:
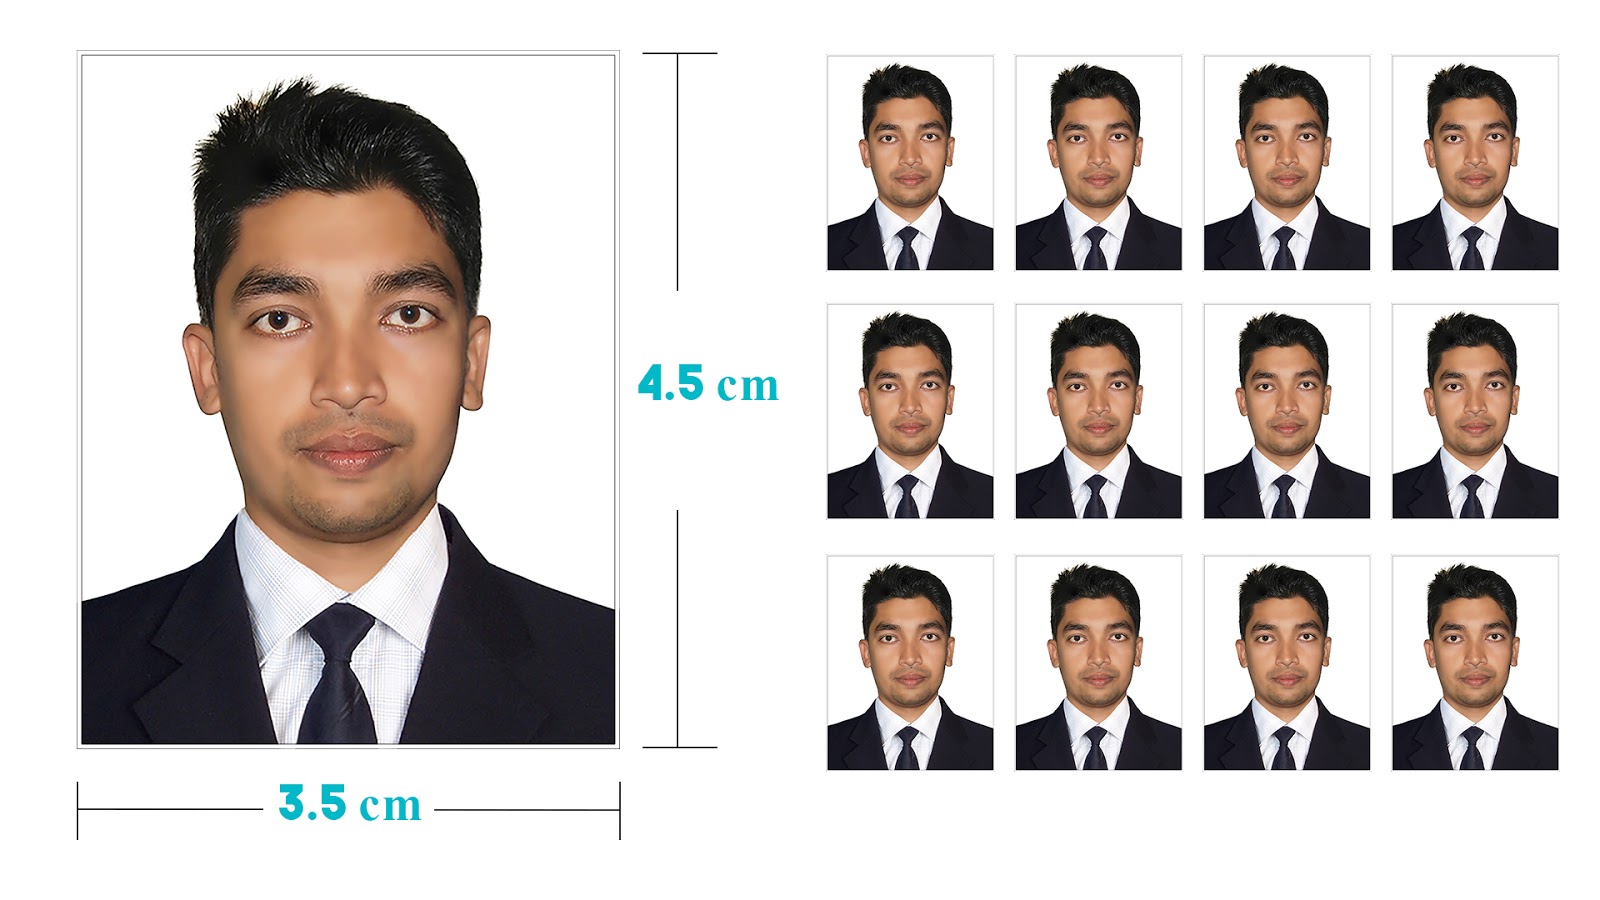
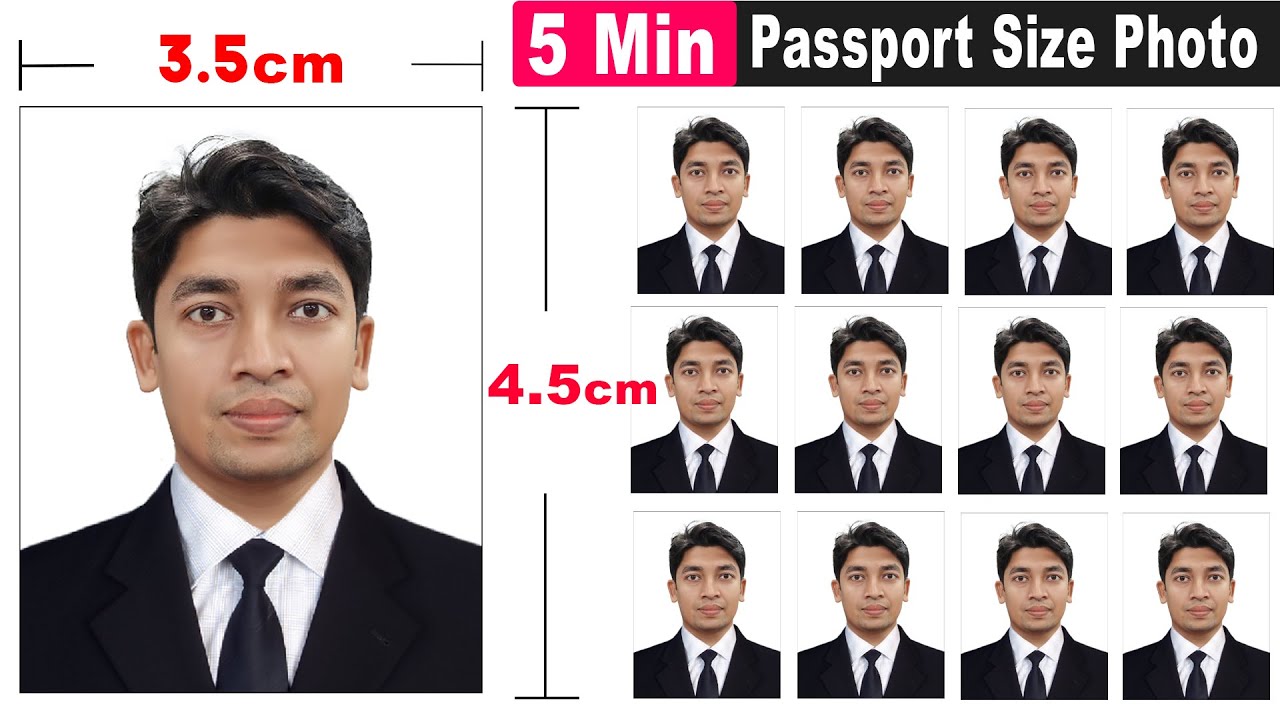
- Dimensions: Typically, passport-sized photographs are 2 inches by 2 inches (51 mm by 51 mm) or 35 mm by 45 mm.
- Background: A plain white or light gray background is mandatory.
- Head Position: The head should be centered in the photograph, facing directly at the camera with a neutral expression.
- Clothing: Clothing should be plain and non-distracting, avoiding patterns or logos.
- Accessories: Headwear, sunglasses, and jewelry are generally not permitted.
- Lighting: Proper lighting is crucial, ensuring a well-lit photograph with no shadows on the face.
- Resolution: The image should be high-resolution and clear, suitable for printing.
- Printing: Photographs should be printed on high-quality photo paper.
Creating Professional Passport-Sized Photographs: A Step-by-Step Guide
While professional photographers can create passport-sized photographs, individuals can also produce high-quality images by following these steps:
1. Gather the Necessary Equipment:
- Camera: A digital camera with a high-resolution sensor is ideal. A smartphone camera with a good quality lens can also be used.
- Tripod: A tripod ensures stability and eliminates camera shake, resulting in sharper images.
- Plain White or Light Gray Background: A smooth, seamless backdrop is essential for meeting the requirements.
- Lighting: Use natural light if possible, or invest in a softbox or ring light for controlled artificial lighting.
- Editing Software: A photo editing software like Adobe Photoshop or GIMP can be used to adjust the image, ensuring compliance with requirements.
2. Setting Up the Scene:
- Choose a Well-Lit Location: Natural light is ideal, but ensure the light is diffused and even, avoiding harsh shadows.
- Set Up the Background: Position the background smoothly and evenly, ensuring no wrinkles or creases.
- Position the Camera: Place the camera on a tripod, ensuring it is level and at a height that captures the subject’s face from the chest up.
- Adjust the Lighting: Experiment with different lighting positions to achieve optimal illumination without harsh shadows.
3. Taking the Photograph:
- Dress Appropriately: Wear plain, non-distracting clothing and remove any headwear or accessories.
- Position Yourself: Stand facing the camera with a neutral expression, ensuring your eyes are open and looking directly at the lens.
- Keep Your Head Straight: Avoid tilting your head or looking away from the camera.
- Take Multiple Shots: Capture several photographs from different angles to ensure a suitable image.
4. Editing the Photograph:
- Crop the Image: Crop the image to the required dimensions (2 inches by 2 inches or 35 mm by 45 mm), ensuring the head is centered and the top of the head is within the frame.
- Adjust Brightness and Contrast: Enhance the image by adjusting brightness and contrast, ensuring a clear and well-lit photograph.
- Remove Blemishes: Remove any blemishes or imperfections using photo editing tools.
- Ensure Compliance: Verify that the photograph meets all the requirements, including background, head position, and clothing.
5. Printing the Photograph:
- Choose High-Quality Photo Paper: Select a high-quality photo paper with a smooth matte finish for optimal results.
- Print at a Professional Lab: Consider using a professional printing lab for high-quality prints that meet the required specifications.
- Check for Errors: Inspect the printed photograph for any errors, ensuring it meets all the requirements before submitting it with your application.
FAQs about Passport-Sized Photographs
1. Can I use a smartphone camera for passport-sized photographs?
While a smartphone camera can be used, a digital camera with a higher resolution sensor is recommended for better image quality.
2. Can I wear glasses in my passport-sized photograph?
Glasses are generally not permitted unless you wear them regularly for medical reasons. If you wear glasses, ensure they are clean and do not have a reflection.
3. What should I do if my photograph does not meet the requirements?
If your photograph does not meet the requirements, you will need to retake the photograph or have it professionally taken.
4. Can I submit a digital photograph?
Some applications allow digital photographs, but you should always check the specific requirements for the document you are applying for.
5. How long are passport-sized photographs valid for?
The validity of passport-sized photographs varies depending on the issuing authority and the type of document. It is best to check the specific requirements for the document you are applying for.
Tips for Creating Professional Passport-Sized Photographs
- Use a tripod: A tripod ensures stability and eliminates camera shake, resulting in sharper images.
- Use natural light: Natural light is ideal for passport-sized photographs, but ensure it is diffused and even.
- Keep your head straight: Avoid tilting your head or looking away from the camera.
- Take multiple shots: Capture several photographs from different angles to ensure a suitable image.
- Check the requirements: Always check the specific requirements for the document you are applying for before taking your photograph.
Conclusion
Creating professional passport-sized photographs is an essential step in the process of applying for various official documents. By understanding the requirements, using the right equipment, and following the steps outlined in this guide, individuals can produce high-quality photographs that meet the standards for acceptance. Remember to carefully review your photograph before submitting it to ensure compliance with the specific requirements of the issuing authority.


Closure
Thus, we hope this article has provided valuable insights into The Essential Guide to Creating Professional Passport-Sized Photographs. We hope you find this article informative and beneficial. See you in our next article!